How to Add Ribbon to a Christmas Tree, Step by Step
Ribbon pulls a tree together and adds movement. You do not need perfect bows to get a polished look; just work in loose loops.
by Tessa Kowalski • Jun 28, 2026 • 2 min read
Ribbon pulls a tree together and adds movement. You do not need perfect bows to get a polished look; just work in loose loops.
by Tessa Kowalski • Jun 28, 2026 • 2 min read
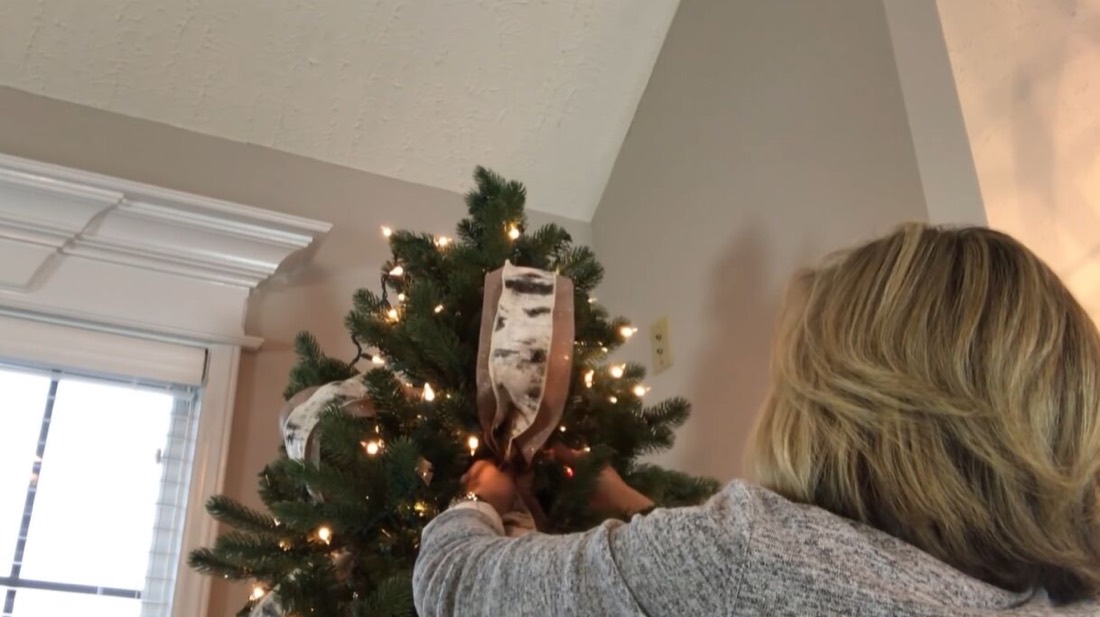
Ribbon adds color and movement to a Christmas tree and helps every ornament feel connected. It looks complicated, but the method below uses loose loops tucked into the branches, with no bow-tying skills required.
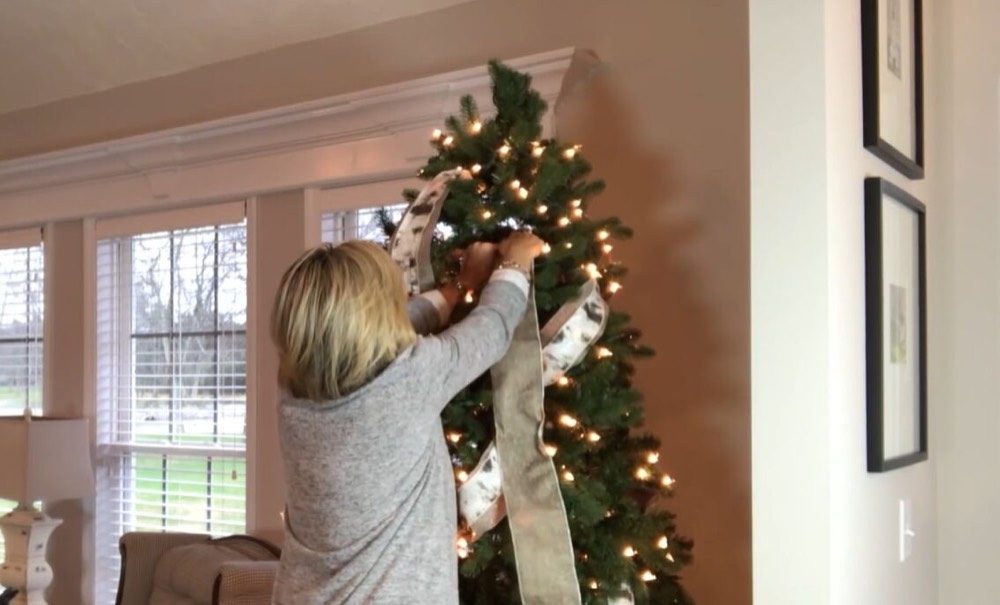
Pair a wider ribbon with a narrower one. If one is patterned, layer it on top so both stay visible. Wired ribbon is the easiest to shape.
Lay the narrow ribbon over the wide one, gather the ends and wrap them with floral wire. Tuck the wired end deep into the branches near the top so it looks like the ribbon is emerging from inside the tree. Leave room at the very top for your topper.

Bring the ribbon down at an angle and let it billow into a loose loop. Push it into the tree, pinch it tight and twist a nearby branch around it to hold it in place.
Continue around and down the tree at the same angle, making a loop every 12 to 18 inches. Step back now and then to check the spacing.
When you reach the bottom, cut the ribbon at an angle or in a V shape and tuck the end out of sight.
Start a second run of ribbon between the first loops so the pattern looks balanced from every side.
A thin velvet or metallic ribbon tucked between the first two adds depth.
Join leftover pieces with floral wire and tuck the join into the tree. No one will see it.
Finish by fluffing each loop and adjusting the wire so the ribbon looks full and even.